Crafternoon: Laundry Edition

Every now and again, I like to get my craft on!  

No, not like this. Though this was the first DVD I ever owned. #throwback

I am especially interested in crafts that will save me money. I’ve been considering making my own laundry detergent for awhile, mostly due to its cost effectiveness. I am also sensitive to some commercial detergents, so being able to control what ingredients were in the stuff that goes on my clothes piqued my interest too. While perusing recipes for homemade laundry detergent I found a tutorial for wool dryer balls that promised to cut drying time and save money too. What the heck, I thought–let’s make both!

I started with a recipe for homemade laundry detergent I found online. The steps were pretty simple: grate one bar of soap and mix with one cup each of washing soda and borax. 


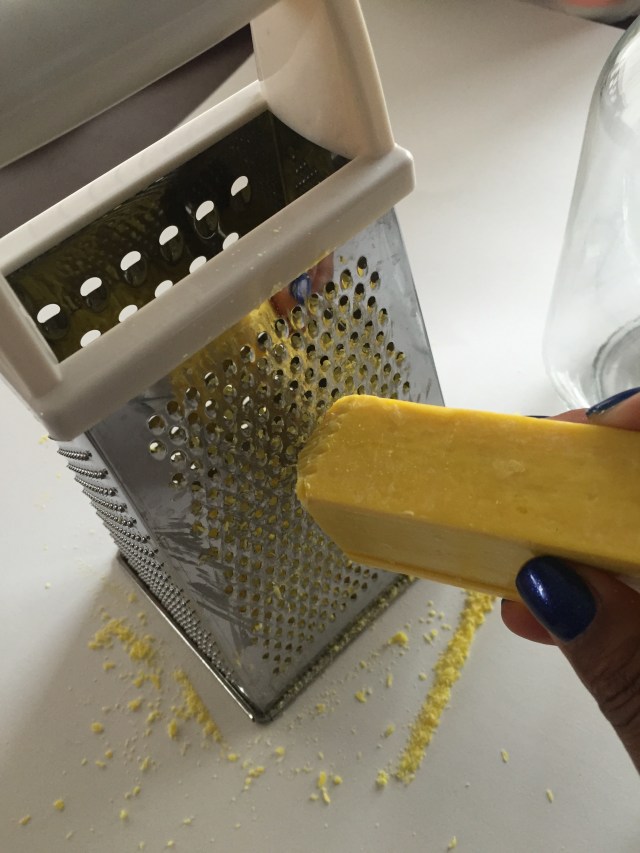
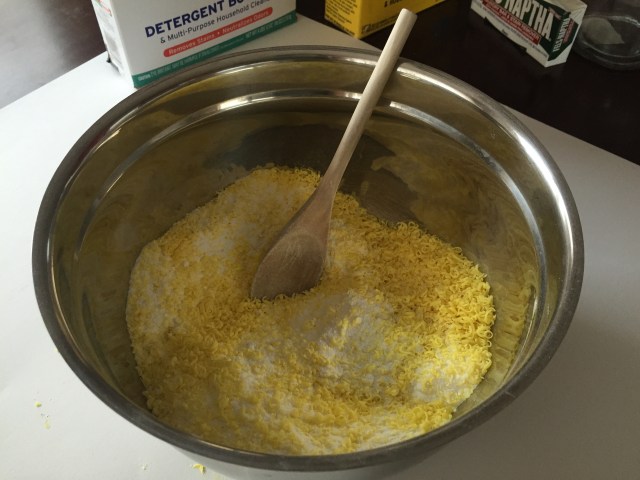
It smelled really fresh and only took about 10 minutes to make. The most time consuming part was grating the Fels-Naptha soap. I pulsed mine in an old smoothie blender to make it super fine (like me!) and easier to dissolve in cold water(…not like me). 


I made a double batch (which should last me quite some time) that breaks down to about $0.05 per load! Wayyyyyy cheaper than the overly-perfumed store bought stuff! Check out the original recipe here for more information. 

I was feeling pretty accomplished at that point, but my crafternoon wasn’t over just yet. On the same site I found the homemade detergent recipe, I also found instructions for making “felted” wool dryer balls. These dryer balls are supposed to cut down drying time, eliminate static, and soften clothes (without the residue and hefty price tag that comes with store bought fabric softener). 

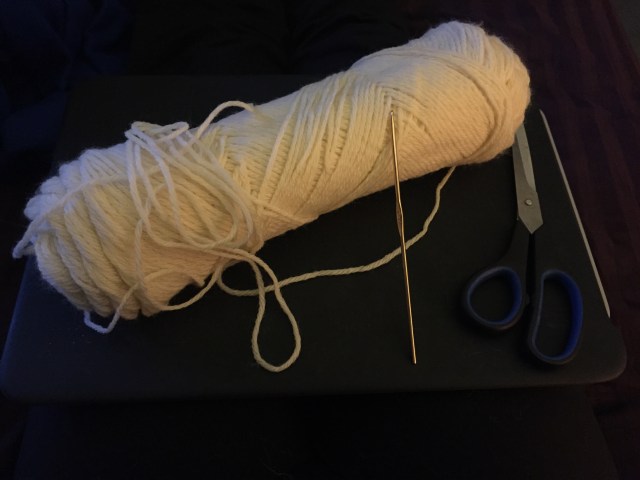
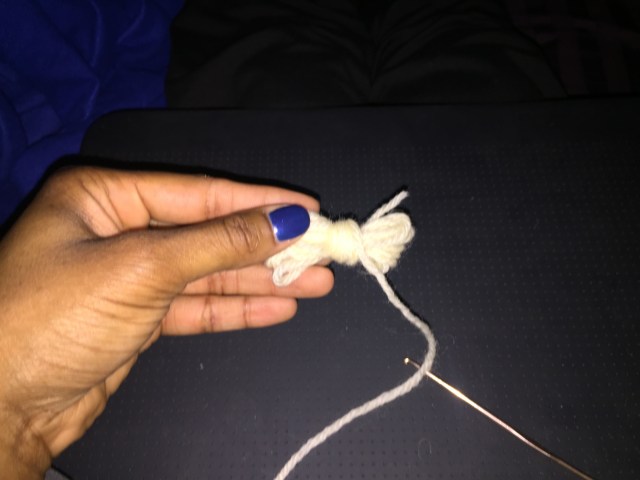
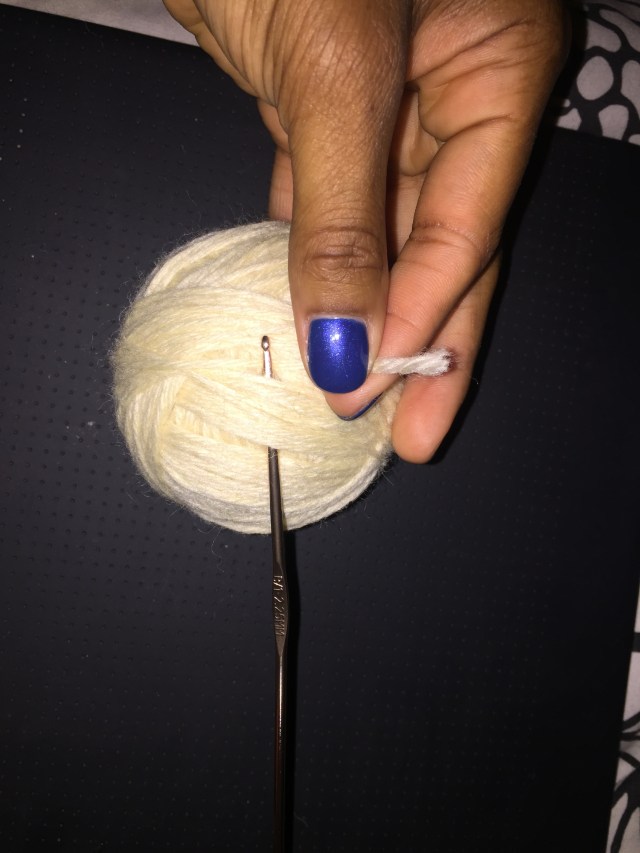
I gathered my supplies: 100% wool yard, a crochet hook, knee-highs, and scissors. Then I started shaping balls! <~That sounds really inappropriate, but I promise this was a family-friendly activity. 


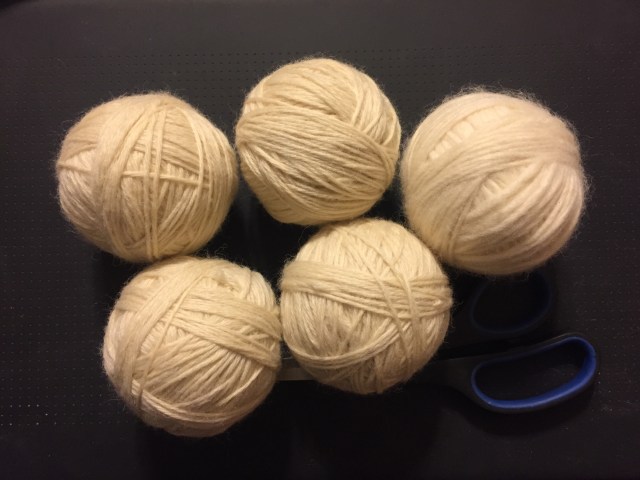
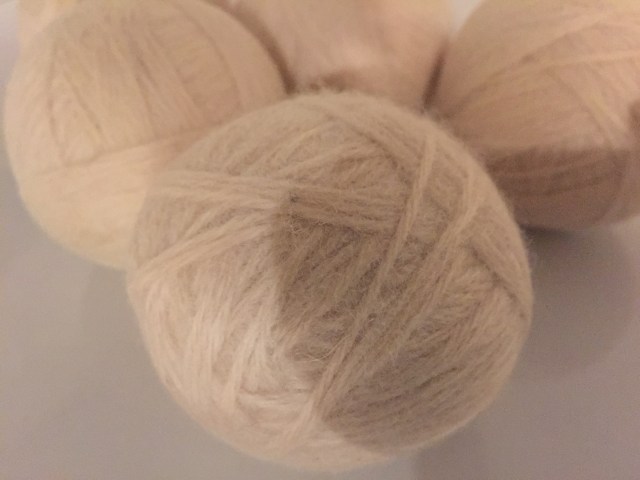
I ended up with five baseball-sized balls from 585 yards of yard. Once the balls are made, pop them into the knee-highs and throw them on the washer on the longest, hottest cycle. Then put them in the dryer (also on the longest, hottest cycle). You may have to do this a few times–I ended up putting mine through the washer and the dryer twice–but at the end of it you’ll have a “felted” wool dryer ball! Peep the original website for detailed instructions on the process. 


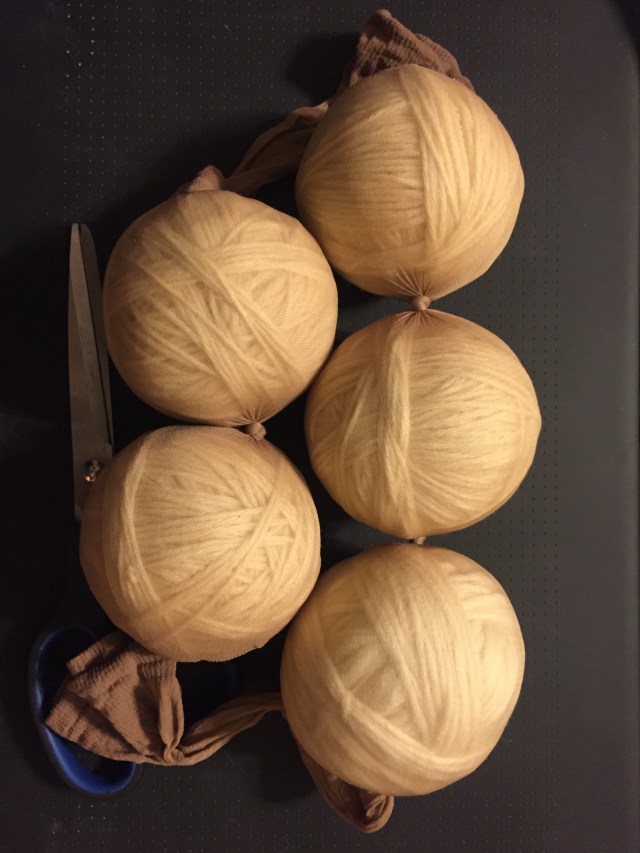
Once you get the hang of winding them, the task goes quickly. You can use these things for YEARS, which will totally save money on fabric softener. Not to mention they are chemical free and won’t coat my clothes with yucky residue!

Overall, my laundry-inspired crafternoon was extremely successful. Not only am I saving money, I’m actually looking forward to washing clothes and seeing the fruits (of the Loom–hahaha) of my labor! 

Advertisement

Craftstravaganza: Washi Tape Chore Sticks!

In case y’all didn’t know, my fiance is the father of three of the most hilarious boys I’ve ever met in my life.  Even though they try me sometimes, these kids truly bring joy to my life; I always look forward to hearing their crazy stories and watching them laugh and play.  Since they don’t stay with us full-time, I have been searching for ways to get them more involved in the daily routine at our house.  A couple of weeks ago I mentioned the idea of getting paid to do work around the house and they were really excited about it, so I did what I always do in situations like these–logged into Pinterest to search for inspiration.  This is where I got the idea of creating chore sticks.  Not only was this craft super easy, it was also pretty cheap–I got all of the supplies for under $10!

Chore sticks for the boys!

Finished product!

Here are the supplies you’ll need for this project:

  • Craft sticks (approx. $4 at craft store–I chose the wide ones and there were 60 in the package)
  • Washi tape (approx. $2/roll–easily the most expensive part of the project as I needed a different color for each child)
  • Sharpie marker (free–already had one at home)
  • Jar (also free–I used one that I had already decorated as part of another Pinterest project)

I started by applying tape to the end of each stick so that each boy would know which chores were his to complete.  I thought this would be easier than writing their names on the sticks.    Also, it makes the sticks more colorful and fun!

Washi tape makes doing chores cool.

Washi tape makes doing chores cool.

Once I had all the sticks taped–I ended up with 20 per kid–I started on the hardest part of the project, which was determining which chores to put on the sticks.  I researched age-appropriate chores for an 8, 7, and 4-year old and wrote one chore on the front of each stick.  I decided to write out the chores and not use pictures for a number of reasons:  (1) it was easier for me; (2) it gave the older two boys a chance to practice their reading; and (3) it gave the youngest boy a chance to start recognizing letters and words, even though he can’t read yet.

Some of the chores were simple, like clearing the table.  Others were more complicated or time-consuming, like vacuuming the stairs or sweeping the garage and driveway.  Each chore was priced at either $1, $3, or $5; I wrote the price on the back of each stick.  Once they completed a chore, they were allowed to flip the stick over and see how much money they earned.  You can easily add new chores by purchasing more sticks and “swap” sticks by changing the tape.  If the middle boy outgrows a chore, all I have to do is change the tape and it becomes a chore for the youngest.

A dolla makes me holla!

“A dolla makes me holla, honey boo boo!”

After I made the sticks, I sat the boys down and explained how the process would work.  Each day they were at our house, they would receive a chore stick (sometimes multiple chore sticks).  It was their responsibility to complete the chores before they left to go back to their mom’s house.  In order to be compensated for their chore, it had to pass inspection–either JB or I had to check their work to make sure it was good.  If not, they would not get their money.  Additionally, they could lose money if they misbehaved throughout the week–not listening, being disrespectful, fighting, etc. might cause them to lose a dollar.   Once they completed all their chores for the day, I would pay them their money.  Each boy has two baggies–one labeled “spend” and the other “save.”  They could decide how much money they wanted to save (for a big item like a video game or a tablet) and how much to put aside to spend at the end of the week.

Yesterday was our first time using the sticks and…it was a huge success!  The boys were very excited to see what their chores were for the day and couldn’t wait to get started on them.  I also chose chores that would require them to work together (for example, the middle boy was responsible for gathering all the dirty clothes and putting them in the hamper and the oldest was in charge of taking the dirty clothes downstairs and sorting them) so that they could see how each person doing a small job made the entire house run more smoothly.  Obviously they needed a bit of coaching–making sure the laundry was sorted correctly and whatnot–but overall they did a good job with their chores.  Probably their favorite part was when I gave them their dollars and they were able to put them in their “save” or “spend” bags.  They each got $3 and all three of them decided to save every single dollar!  I’m sure this will change as they earn more money, but I was really proud to hear them talk about “saving lots and lots of dollars” to buy something they really wanted.  🙂

Not only did I get to flex my underused craft muscle, I also got a bunch of help around the house for wayyyyyyyy less than the cost of a housekeeper.  It may have taken a bit longer to get things done, but the boys need to learn how to take care of a household so I consider taking the extra time in the short-term as a long-term investment in them–as they continue to complete the chores they will only get better at them.  Also, having the boys complete smaller tasks freed me up to complete some of the larger ones, so everyone wins!

I’ll keep y’all updated on our progress as we continue to use these.  You can also find my original inspiration for this craft (as well as the list of age-appropriate chores I drew from) on my Pinterest page.  Happy crafting!